> For the complete documentation index, see [llms.txt](https://dev.phron.ai/llms.txt). Markdown versions of documentation pages are available by appending `.md` to page URLs; this page is available as [Markdown](https://dev.phron.ai/build-with-phronai/sdks-and-tools/ethereum/dev-environments/waffle-and-mars.md).
# Waffle & Mars
## Using Waffle & Mars to Deploy to Phron
### Introduction
[Waffle](https://getwaffle.io/) is a library for compiling and testing smart contracts, and [Mars](https://github.com/TrueFiEng/Mars) is a deployment manager. Together, Waffle and Mars can be used to write, compile, test, and deploy Ethereum smart contracts. Since Phron is Ethereum compatible, Waffle and Mars can be used to deploy smart contracts to a Phron development node or the Phron TestNet.
Waffle uses minimal dependencies, has syntax that is easy to learn and extend, and provides fast execution times when compiling and testing smart contracts. Furthermore, it is [TypeScript](https://www.typescriptlang.org/) compatible and uses [Chai matchers](https://ethereum-waffle.readthedocs.io/en/latest/matchers.html) to make tests easy to read and write.
Mars provides a simple, TypeScript compatible framework for creating advanced deployment scripts and staying in sync with state changes. Mars focuses on infrastructure-as-code, allowing developers to specify how their smart contracts should be deployed and then using those specifications to automatically handle state changes and deployments.
In this guide, you'll be creating a TypeScript project to write, compile, and test a smart contract using Waffle, then deploy it on to the Phron TestNet using Mars.
### Checking Prerequisites
You will need to have the following:
* MetaMask installed and connected to Phron
* An account with funds. You can get DEV tokens for testing on Phron once every 24 hours from the [Phron Faucet](https://faucet.phron.ai/)
* To test out the examples in this guide on Phron, you will need to have your own endpoint and API key, which you can get from one of the supported Endpoint Providers
Once you've created an account you'll need to export the private key to be used in this guide.
### Create a TypeScript Project with Waffle & Mars
To get started, you'll create a TypeScript project and install and configure a few dependencies.
1. Create the project directory and change to it:
```bash
mkdir waffle-mars && cd waffle-mars
```
2. Initialize the project. Which will create a `package.json` in the directory:
```bash
npm init -y
```
3. Install the following dependencies:
```bash
npm install ethereum-waffle ethereum-mars ethers \
@openzeppelin/contracts typescript ts-node chai \
@types/chai mocha @types/mocha
```
* [Waffle](https://github.com/TrueFiEng/Waffle) - for writing, compiling, and testing smart contracts
* [Mars](https://github.com/TrueFiEng/Mars) - for deploying smart contracts to Phron
* [Ethers](https://github.com/ethers-io/ethers.js) - for interacting with Phron's Ethereum API
* [OpenZeppelin Contracts](https://github.com/OpenZeppelin/openzeppelin-contracts) - the contract you'll be creating will use OpenZeppelin's ERC-20 base implementation
* [TypeScript](https://github.com/microsoft/TypeScript) - the project will be a TypeScript project
* [TS Node](https://github.com/TypeStrong/ts-node) - for executing the deployment script you'll create later in this guide
* [Chai](https://github.com/chaijs/chai) - an assertion library used alongside Waffle for writing tests
* [@types/chai](https://github.com/DefinitelyTyped/DefinitelyTyped/tree/HEAD/types/chai) - contains the type definitions for chai
* [Mocha](https://github.com/mochajs/mocha) - a testing framework for writing tests alongside Waffle
* [@types/mocha](https://github.com/DefinitelyTyped/DefinitelyTyped/tree/HEAD/types/mocha) - contains the type definitions for mocha
4. Create a [TypeScript configuration](https://www.typescriptlang.org/docs/handbook/tsconfig-json.html) file:
```bash
touch tsconfig.json
```
5. Add a basic TypeScript configuration:
```typescript
{
"compilerOptions": {
"strict": true,
"target": "ES2019",
"moduleResolution": "node",
"resolveJsonModule": true,
"esModuleInterop": true,
"module": "CommonJS",
"composite": true,
"sourceMap": true,
"declaration": true,
"noEmit": true
}
}
```
Now, you should have a basic TypeScript project with the necessary dependencies to get started building with Waffle and Mars.
### Add a Contract
For this guide, you will create an ERC-20 contract that mints a specified amount of tokens to the contract creator. It's based on the OpenZeppelin ERC-20 template.
1. Create a directory to store your contracts and a file for the smart contract:
```bash
mkdir contracts && cd contracts && touch MyToken.sol
```
2. Add the following contract to `MyToken.sol`:
```solidity
pragma solidity ^0.8.0;
import "@openzeppelin/contracts/token/ERC20/ERC20.sol";
contract MyToken is ERC20 {
constructor() ERC20("MyToken", "MYTOK") {}
function initialize(uint initialSupply) public {
_mint(msg.sender, initialSupply);
}
}
```
In this contract, you are creating an ERC-20 token called MyToken with the symbol MYTOK, that allows you, as the contract creator, to mint as many MYTOKs as desired.
### Use Waffle to Compile and Test
#### Compile with Waffle
Now that you have written a smart contract, the next step is to use Waffle to compile it. Before diving into compiling your contract, you will need to configure Waffle:
1. Go back to the root project directory and create a `waffle.json` file to configure Waffle:
```bash
cd .. && touch waffle.json
```
2. Edit the `waffle.json` to specify compiler configurations, the directory containing your contracts, and more. For this example, we'll use `solcjs` and the Solidity version you used for the contract, which is `0.8.0`:
```json
{
"compilerType": "solcjs",
"compilerVersion": "0.8.0",
"compilerOptions": {
"optimizer": {
"enabled": true,
"runs": 20000
}
},
"sourceDirectory": "./contracts",
"outputDirectory": "./build",
"typechainEnabled": true
}
```
3. Add a script to run Waffle in the `package.json`:
```javascript
"scripts": {
"build": "waffle"
},
```
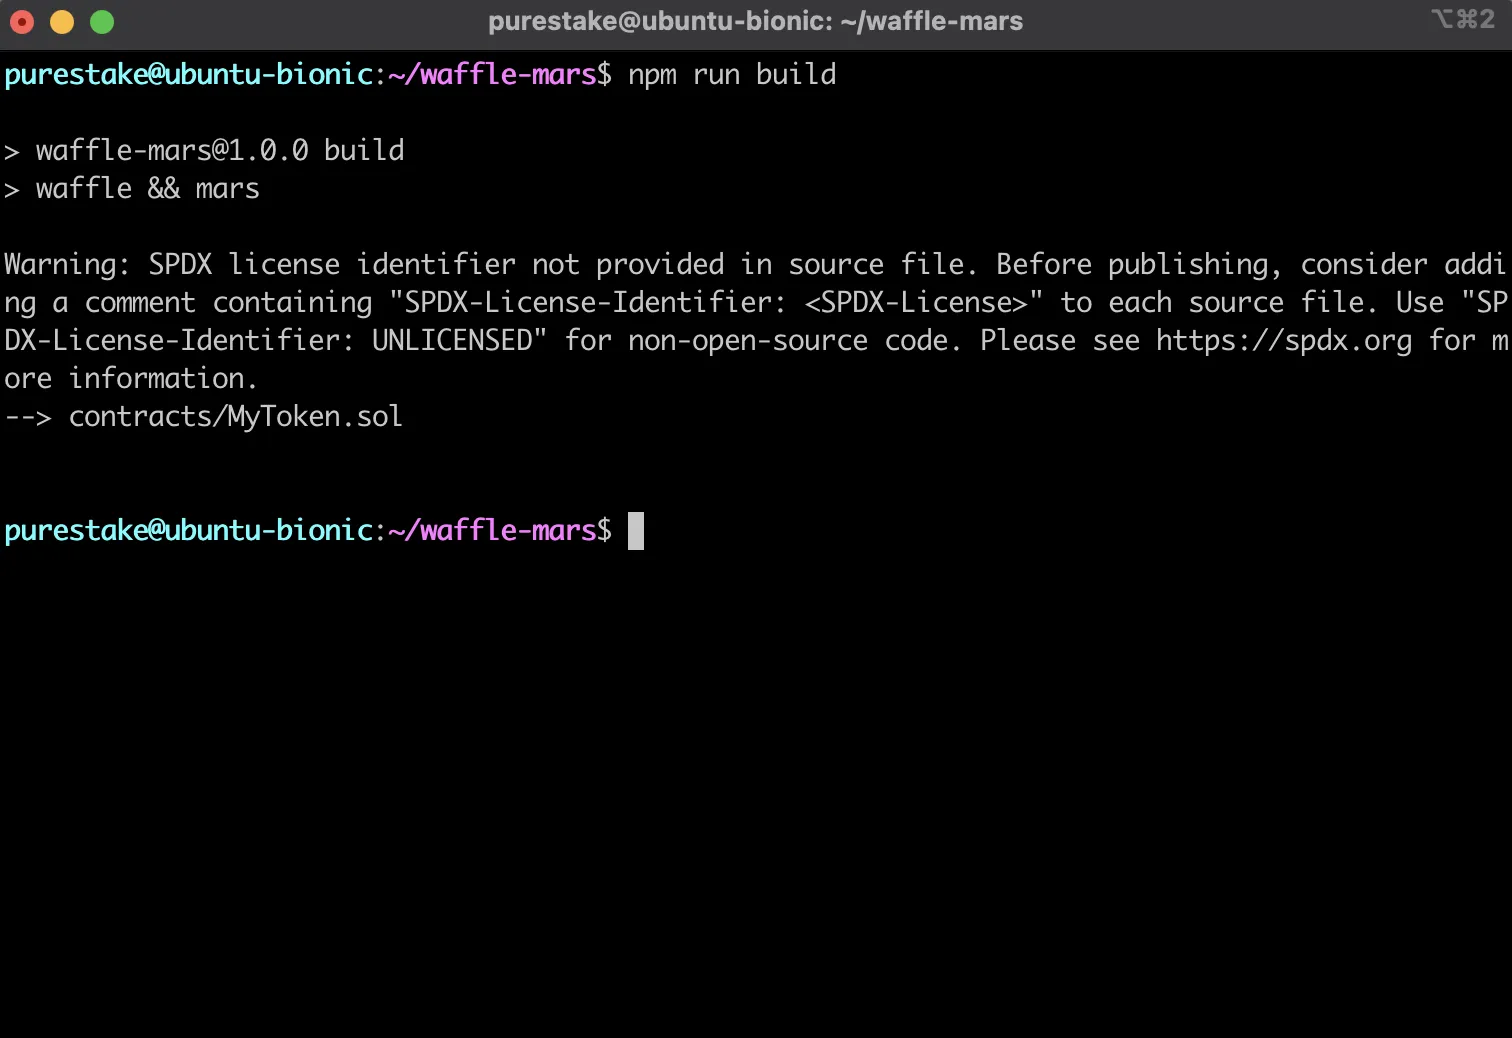
That is all you need to do to configure Waffle, now you're all set to compile the `MyToken` contract using the `build` script:
```bash
npm run build
```

After compiling your contracts, Waffle stores the JSON output in the `build` directory. Since the contract in this guide is based on OpenZeppelin's ERC-20 template, relevant ERC-20 JSON files will appear in the `build` directory too.
#### Test with Waffle
Before deploying your contract and sending it off into the wild, you should test it first. Waffle provides an advanced testing framework and has plenty of tools to help you with testing.
You'll be running tests against the Phron TestNet and will need the corresponding RPC URL to connect to it: `https://testnet.phron.ai`.
To configure your project for Phron, you will need to have your own endpoint and API key, which you can get from one of the supported Endpoint Providers.
Since you will be running tests against the TestNet, it might take a couple minutes to run all of the tests. If you want a more efficient testing experience, you can spin up a Phron development node using `instant seal`. Running a local Phron development node with the `instant seal` feature is similar to the quick and iterative experience you would get with [Hardhat Network](https://hardhat.org/hardhat-network/docs/overview).
1. Create a directory to contain your tests and a file to test your `MyToken` contract:
```bash
mkdir test && cd test && touch MyToken.test.ts
```
2. Open the `MyToken.test.ts` file and setup your test file to use Waffle's Solidity plugin and use Ethers custom JSON-RPC provider to connect to Phron:
```javascript
import { use, expect } from 'chai';
import { Provider } from '@ethersproject/providers';
import { solidity } from 'ethereum-waffle';
import { ethers, Wallet } from 'ethers';
import { MyToken, MyTokenFactory } from '../build/types';
// Tell Chai to use Waffle's Solidity plugin
use(solidity);
describe ('MyToken', () => {
// Use custom provider to connect to Phron
let provider: Provider = new ethers.providers.JsonRpcProvider(
'https://testnet.phron.ai'
);
let wallet: Wallet;
let walletTo: Wallet;
let token: MyToken;
beforeEach(async () => {
// Logic for setting up the wallet and deploying MyToken will go here
});
// Tests will go here
})
```
3. Before each test is run, you'll want to create wallets and connect them to the provider, use the wallets to deploy an instance of the `MyToken` contract, and then call the `initialize` function once with an initial supply of 10 tokens:
  beforeEach(async () => {
       // This is for demo purposes only. Never store your private key in a JavaScript/TypeScript file
       const privateKey = 'INSERT_PRIVATE_KEY'
       // Create a wallet instance using your private key & connect it to the provider
       wallet = new Wallet(privateKey).connect(provider);

       // Create a random account to transfer tokens to & connect it to the provider
       walletTo = Wallet.createRandom().connect(provider);

       // Use your wallet to deploy the MyToken contract
       token = await new MyTokenFactory(wallet).deploy();

       // Mint 10 tokens to the contract owner, which is you
       let contractTransaction = await token.initialize(10);

       // Wait until the transaction is confirmed before running tests
       await contractTransaction.wait();
     });
4. Now you can create your first test. The first test will check your initial balance to ensure you received the initial supply of 10 tokens. However, to follow good testing practices, write a failing test first:
```javascript
it('Mints the correct initial balance', async () => {
expect(await token.balanceOf(wallet.address)).to.equal(1); // This should fail
});
```
5. Before you can run your first test, you'll need to go back to the root direction and add a `.mocharc.json` Mocha configuration file:
```
cd .. && touch .mocharc.json
```
6. Now edit the `.mocharc.json` file to configure Mocha:
```typescript
{
"require": "ts-node/register/transpile-only",
"timeout": 600000,
"extension": "test.ts"
}
```
7. You'll also need to add a script in the `package.json` to run your tests:
```json
"scripts": {
"build": "waffle",
"test": "mocha"
},
```
8. You're all set to run the tests, simply use the `test` script you just created and run:
```bash
npm run test
```
Please note that it could take a few minutes to process because the tests are running against Phron, but if all worked as expected, you should have one failing test.
9. Next, you can go back and edit the test to check for 10 tokens:
```javascript
it('Mints the correct initial balance', async () => {
expect(await token.balanceOf(wallet.address)).to.equal(10); // This should pass
});
```
10. If you run the tests again, you should now see one passing test:
```bash
npm run test
```
11. You've tested the ability to mint tokens, next you'll test the ability to transfer the minted tokens. If you want to write a failing test first again that is up to, however the final test should look like this:
it('Should transfer the correct amount of tokens to the destination account', async () => {
      // Send the destination wallet 7 tokens
      await (await token.transfer(walletTo.address, 7)).wait();

      // Expect the destination wallet to have received the 7 tokens
      expect(await token.balanceOf(walletTo.address)).to.equal(7);
    });
Congratulations, you should now have two passing tests! Altogether, your test file should look like this:
{% code overflow="wrap" %}
```jsx
import { use, expect } from 'chai';
import { Provider } from '@ethersproject/providers';
import { solidity } from 'ethereum-waffle';
import { ethers, Wallet } from 'ethers';
import { MyToken, MyTokenFactory } from '../build/types';
use(solidity);
describe('MyToken', () => {
let provider: Provider = new ethers.providers.JsonRpcProvider(
'https://testnet.phron.ai'
);
let wallet: Wallet;
let walletTo: Wallet;
let token: MyToken;
beforeEach(async () => {
// For demo purposes only. Never store your private key in a JavaScript/TypeScript file
const privateKey = 'INSERT_PRIVATE_KEY';
wallet = new Wallet(privateKey).connect(provider);
walletTo = Wallet.createRandom().connect(provider);
token = await new MyTokenFactory(wallet).deploy();
let contractTransaction = await token.initialize(10);
await contractTransaction.wait();
});
it('Mints the correct initial balance', async () => {
expect(await token.balanceOf(wallet.address)).to.equal(10);
});
it('Should transfer the correct amount of tokens to the destination account', async () => {
await (await token.transfer(walletTo.address, 7)).wait();
expect(await token.balanceOf(walletTo.address)).to.equal(7);
});
});
```
{% endcode %}
If you want to write more tests on your own, you could consider testing transfers from accounts without any funds or transfers from accounts without enough funds.
### Use Mars to Deploy to Phron
After you compile your contracts and before deployment, you will have to generate contract artifacts for Mars. Mars uses the contract artifacts for typechecks in deployments. Then you'll need to create a deployment script and deploy the `MyToken` smart contract.
Remember, you will be deploying to Phron and will need to use the TestNet RPC URL:
```url
https://testnet.phron.ai
```
To configure your project for Phron, you will need to have your own endpoint and API key, which you can get from one of the supported Endpoint Providers.
The deployment will be broken up into three sections: generate artifacts, create a deployment script, and deploy with Mars.
#### Generate Artifacts
Artifacts need to be generated for Mars so that typechecks are enabled within deployment scripts.
1. Update existing script to run Waffle in the `package.json` to include Mars:
```json
"scripts": {
"build": "waffle && mars",
"test": "mocha"
},
```
2. Generate the artifacts and create the `artifacts.ts` file needed for deployments:
```bash
npm run build
```
If you open the `build` directory, you should now see an `artifacts.ts` file containing the artifact data needed for deployments. To continue on with the deployment process, you'll need to write a deployment script. The deployment script will be used to tell Mars which contract to deploy, to what network, and which account is to be used to trigger the deployment.
#### Create a Deployment Script
Now you need to configure the deployment for the `MyToken` contract to the Phron TestNet.
In this step, you'll create the deployment script which will define how the contract should be deployed. Mars offers a `deploy` function that you can pass options to such as the private key of the account to deploy the contract, the network to deploy to, and more. Inside of the `deploy` function is where the contracts to be deployed are defined. Mars has a `contract` function that accepts the `name`, `artifact`, and `constructorArgs`. This function will be used to deploy the `MyToken` contract with an initial supply of 10 MYTOKs.
1. Create a `src` directory to contain your deployment scripts and create the script to deploy the `MyToken` contract:
```bash
mkdir src && cd src && touch deploy.ts
```
2. In `deploy.ts`, use Mars' `deploy` function to create a script to deploy to Phron using your account's private key:
import { deploy } from 'ethereum-mars';

   // For demo purposes only. Never store your private key in a JavaScript/TypeScript file
   const privateKey = 'INSERT_PRIVATE_KEY';
   deploy(
     { network: 'https://testnet.phron.ai', privateKey },
     (deployer) => {
       // Deployment logic will go here
     }
   );
3. Set up the `deploy` function to deploy the `MyToken` contract created in the previous steps:
import { deploy, contract } from 'ethereum-mars';
   import { MyToken } from '../build/artifacts';

   // For demo purposes only. Never store your private key in a JavaScript/TypeScript file
   const privateKey = 'INSERT_PRIVATE_KEY';
   deploy({ network: 'https://testnet.phron.ai', privateKey }, () => {
     contract('myToken', MyToken);
   });
4. Add a deploy script to the `scripts` object in the `package.json`:
```json
"scripts": {
"build": "waffle && mars",
"test": "mocha",
"deploy": "ts-node src/deploy.ts"
}
```
So far, you should have created a deployment script in `deploy.ts` that will deploy the `MyToken` contract to Phron, and added the ability to easily call the script and deploy the contract.
#### Deploy with Mars
You've configured the deployment, now it's time to actually deploy to Phron.
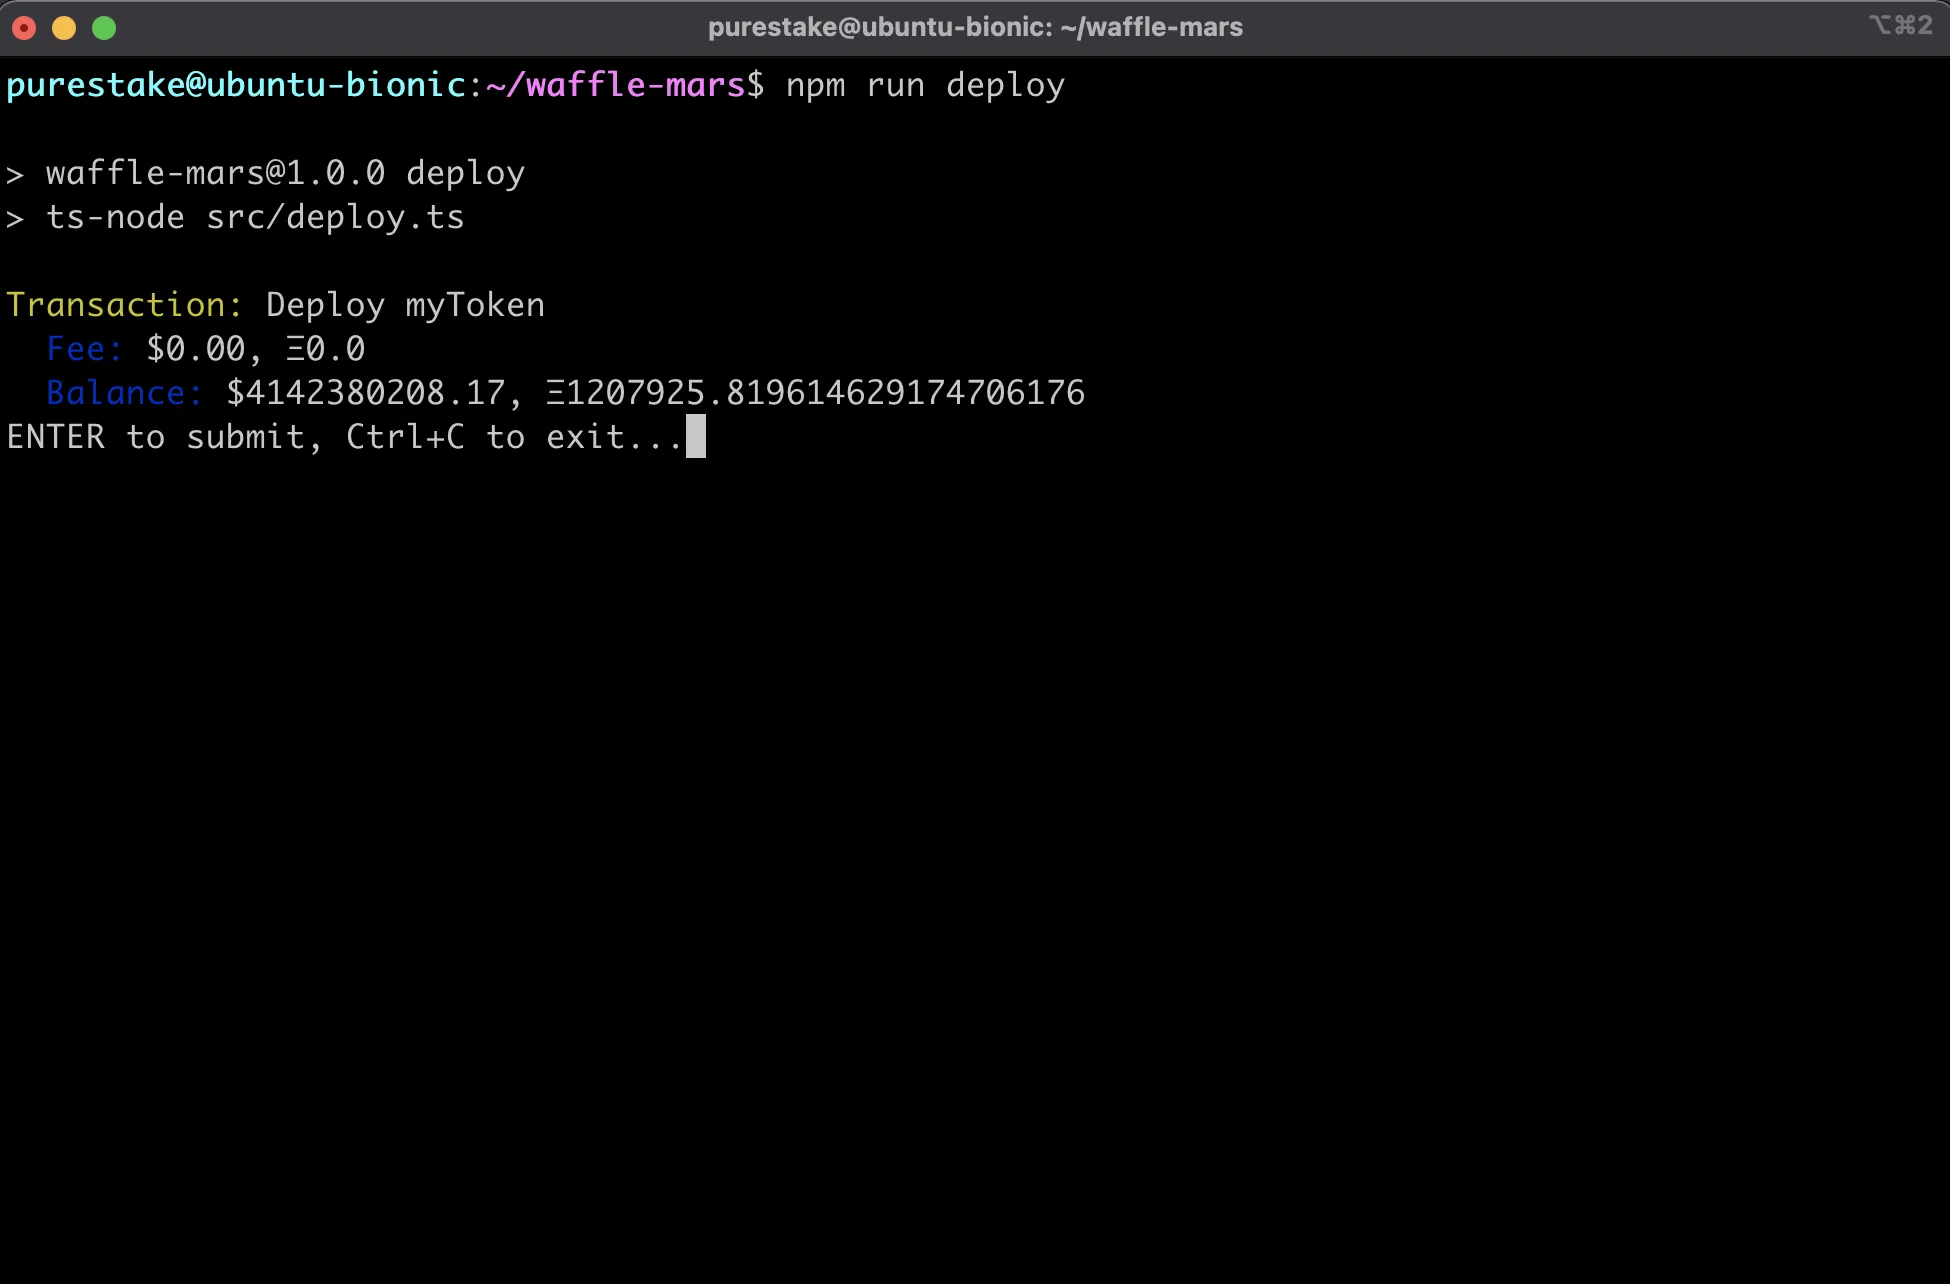
1. Deploy the contract using the script you just created:
```bash
npm run deploy
```
2. In your Terminal, Mars will prompt you to press `ENTER` to send your transaction
If successful, you should see details about your transaction including it's hash, the block it was included in, and it's address.
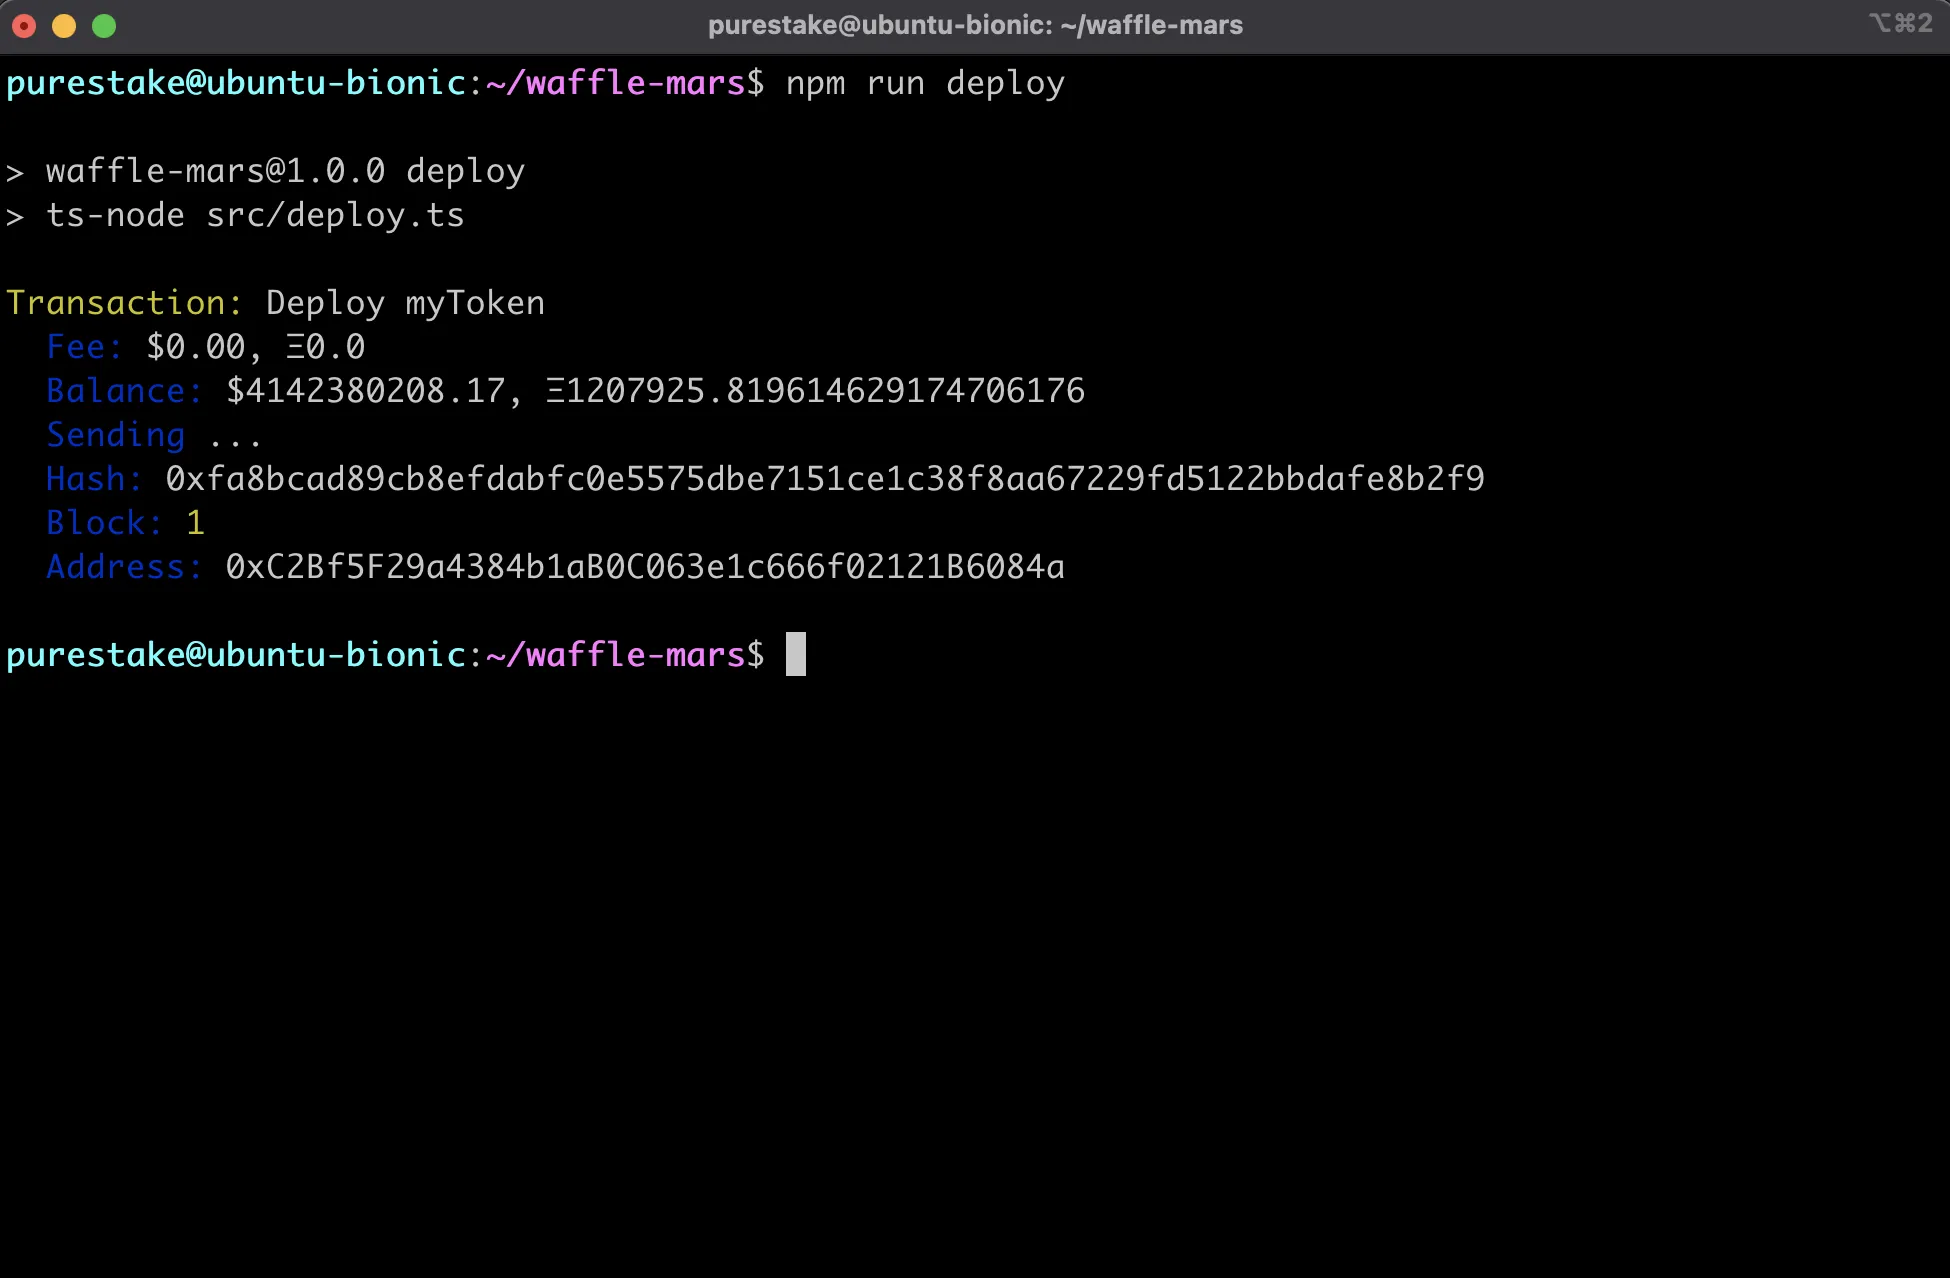
Congratulations! You've deployed a contract to Phron using Waffle and Mars!
### Example Project
If you want to see a completed example of a Waffle and Mars project on Phron, check out the phron-waffle-mars-example created by the team behind Waffle and Mars, EthWorks.
This tutorial is for educational purposes only. As such, any contracts or code created in this tutorial should not be used in production.The information presented herein has been provided by third parties and is made available solely for general information purposes. Phron does not endorse any project listed and described on the Phron Doc Website (). Phron does not warrant the accuracy, completeness or usefulness of this information. Any reliance you place on such information is strictly at your own risk. Phron disclaims all liability and responsibility arising from any reliance placed on this information by you or by anyone who may be informed of any of its contents. All statements and/or opinions expressed in these materials are solely the responsibility of the person or entity providing those materials and do not necessarily represent the opinion of Phron. The information should not be construed as professional or financial advice of any kind. Advice from a suitably qualified professional should always be sought in relation to any particular matter or circumstance. The information herein may link to or integrate with other websites operated or content provided by third parties, and such other websites may link to this website. Phron has no control over any such other websites or their content and will have no liability arising out of or related to such websites or their content. The existence of any such link does not constitute an endorsement of such websites, the content of the websites, or the operators of the websites. These links are being provided to you only as a convenience and you release and hold Phron harmless from any and all liability arising from your use of this information or the information provided by any third-party website or service.
---
# Agent Instructions
This documentation is published with GitBook. GitBook is the documentation platform designed so that both humans and AI agents can read, navigate, and reason over technical content effectively. Learn more at gitbook.com.
## Querying This Documentation
If you need additional information that is not directly available in this page, you can query the documentation dynamically by asking a question.
Perform an HTTP GET request on the current page URL with the `ask` query parameter, and the optional `goal` query parameter:
```
GET https://dev.phron.ai/build-with-phronai/sdks-and-tools/ethereum/dev-environments/waffle-and-mars.md?ask=&goal=
```
`ask` is the immediate question: it should be specific, self-contained, and written in natural language.
`goal` is optional and describes the broader end goal you are ultimately trying to accomplish on behalf of the user. GitBook uses it to tailor the answer towards what is most useful for that goal.
The response will contain a direct answer to the question and relevant excerpts and sources from the documentation.
Use this mechanism when the answer is not explicitly present in the current page, you need clarification or additional context, or you want to retrieve related documentation sections.